Bleed and Margin is the most important key to get a better quality! Not only high premium printing machine that will create high-quality printings but as well as a perfect artwork. A perfect artwork design will save so much time when it goes through the printing process and it saves your artwork from cutting risky.
From the previous article, we talked about “4 Most Important Factors For A Name Card Design” which has Name card dimensions, Bleed and Margin, Color mode, Vector, and Raster. Printing design has their own factors about the design, to get higher quality for your own printing you need to know this...
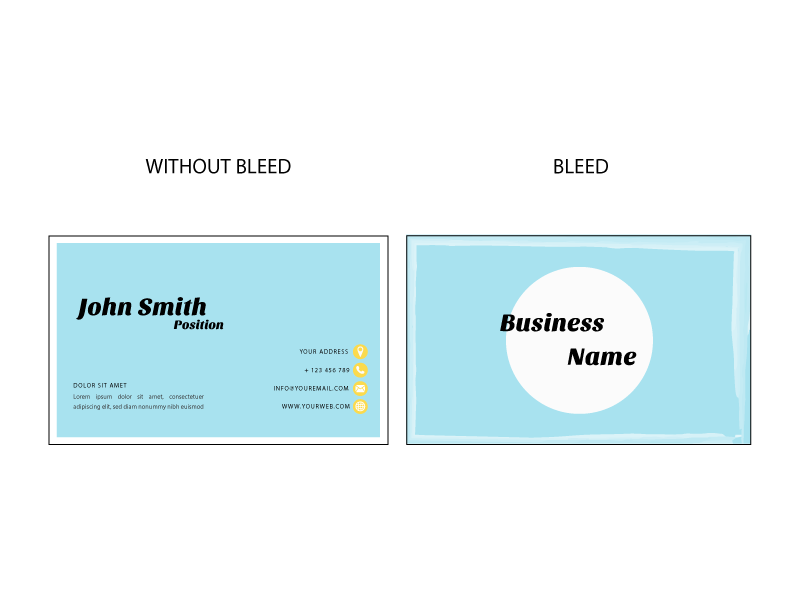
What is Bleed?
Bleed is the white cut line outside of your design and it gives the print shop a margin of error when trimming. Since it is crucial because the digital and offset printing machines’ will be accurate. Sometimes, the so that if the cut is a little off, the white of the paper won’t show along the edge.
What is Margin?
The Margin is the patch line that you can create your own on a Name card. This line will let you know property where the cutting line should be. Again, the machine might not be 100% exactly match with the line. So, the reason we create this line is just to make sure that you will save your artwork after the cutting process as well as the Bleed.
How I can create Bleed and Margin?
To set Bleed and Margin followed by:
-
Set Bleed in 0.3cm.
-
Set Margin in 0.3 cm.
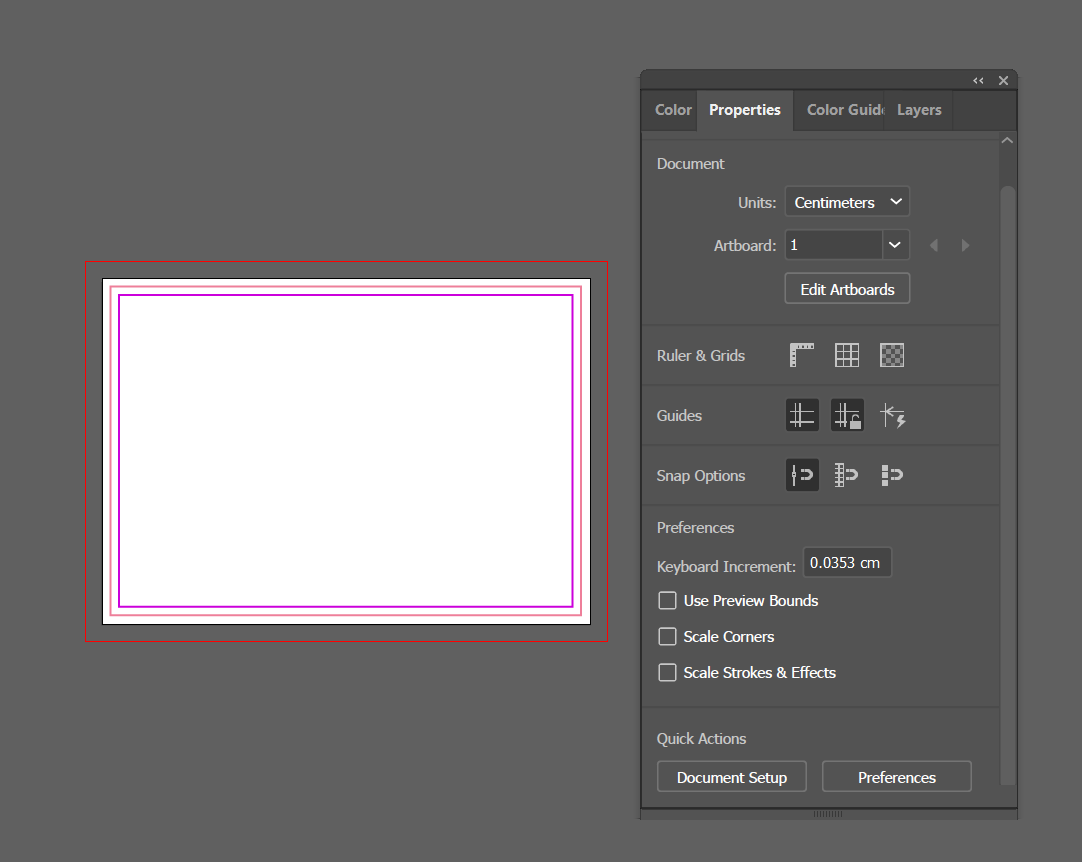
Set Bleed and Margin on Adobe Illustrator
-
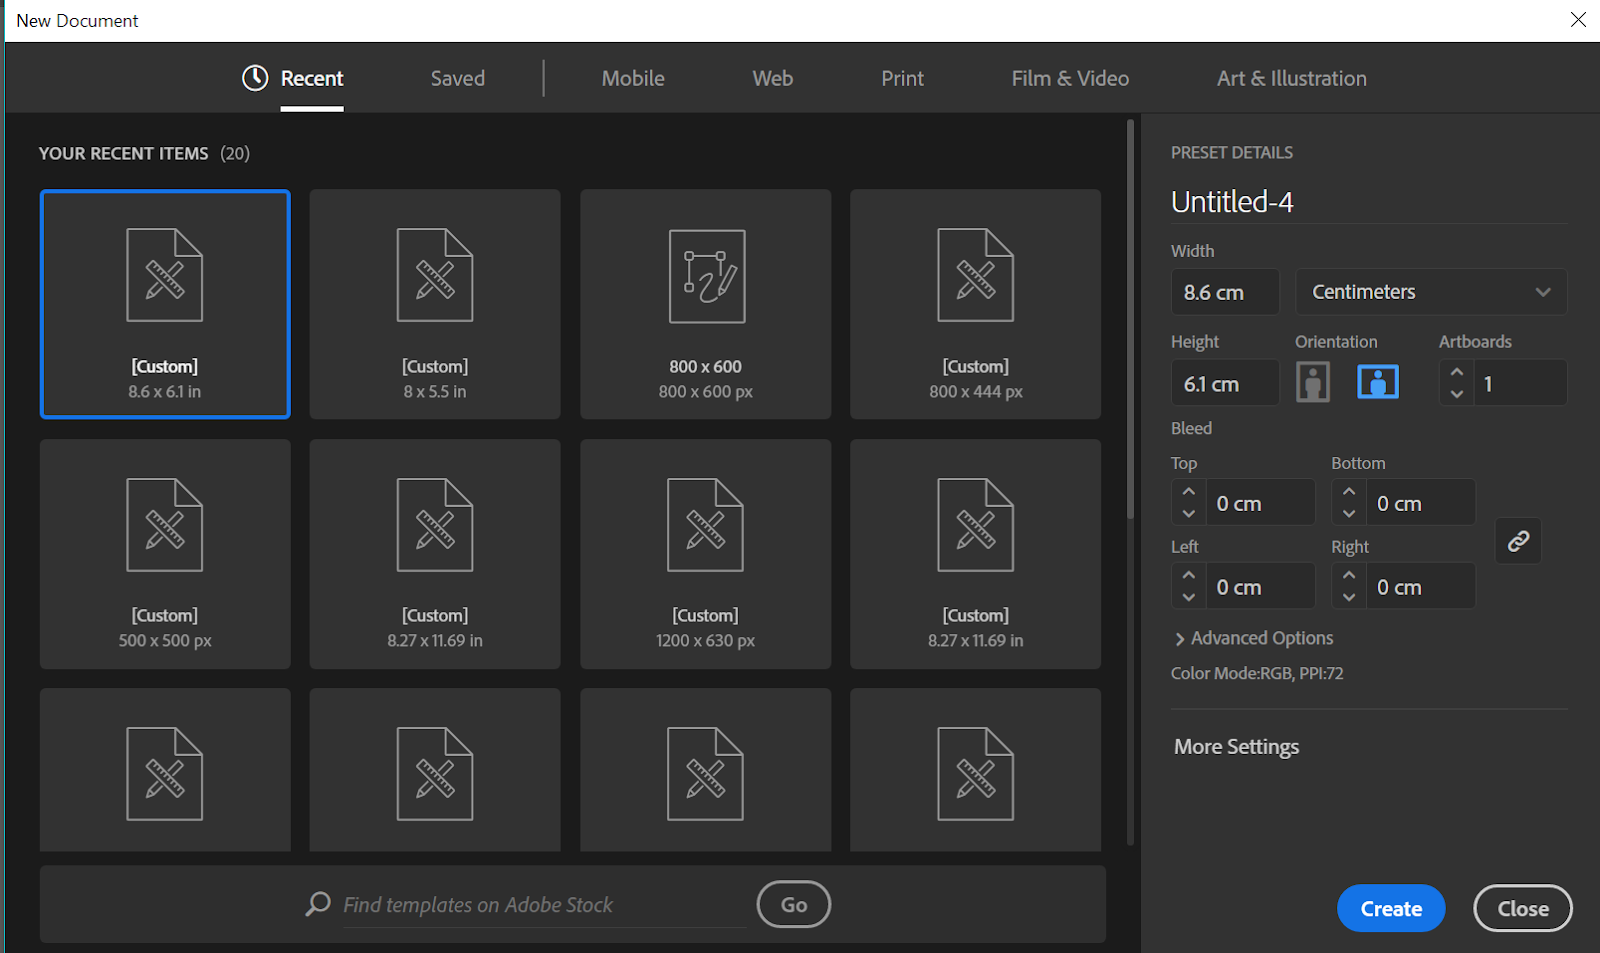
choose your business card dimension. In this template, I use 8 x 5.5cm. You can choose any dimension as you want such as 9 x 5.5cm, 9 x 5cm. Or 8 x 5.5cm. which is a standard dimension.
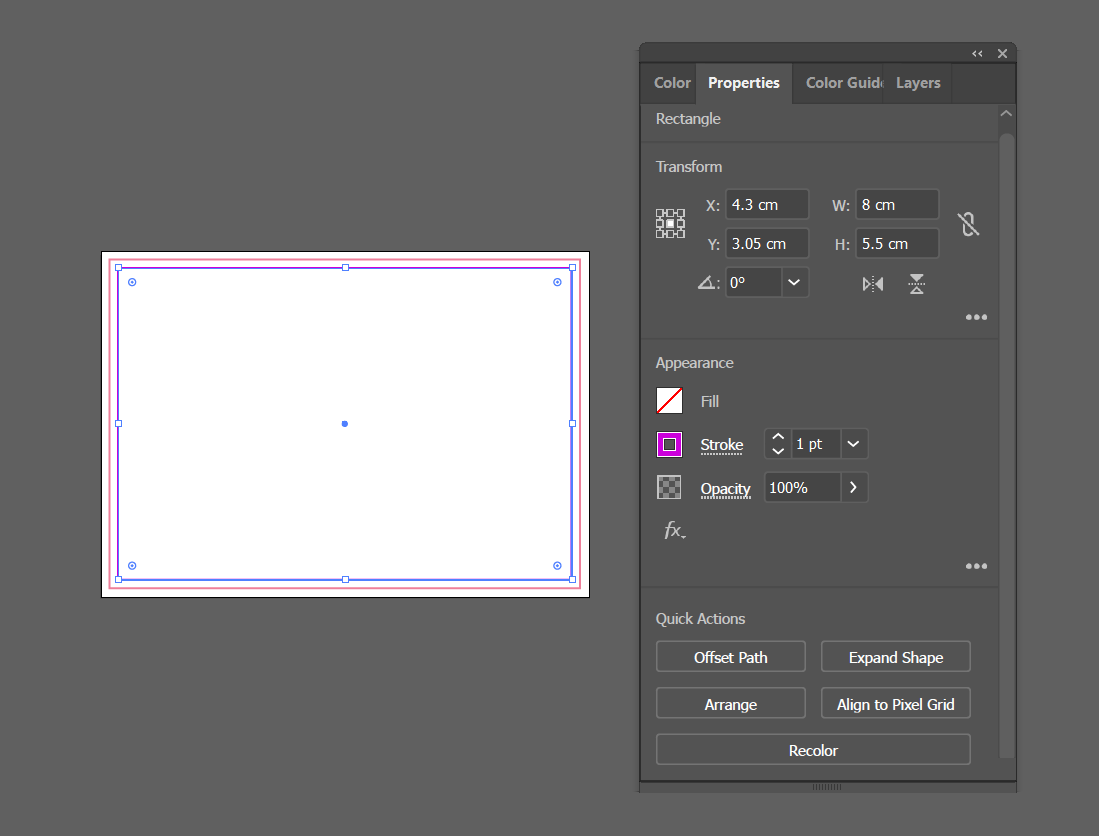
2. Create the Bleed inside of your Artwork by minus 0.3cm. From Width and High.

3. As well as Margin, minus 0.3 from the Bleed dimension.
Another option…
You can also create Bleed by using Document set up but you shouldn’t plus Bleed and Margin into your Artwork at first. So, the size at first will be the real size which is 8 x 5.5cm. And set Document setup after.
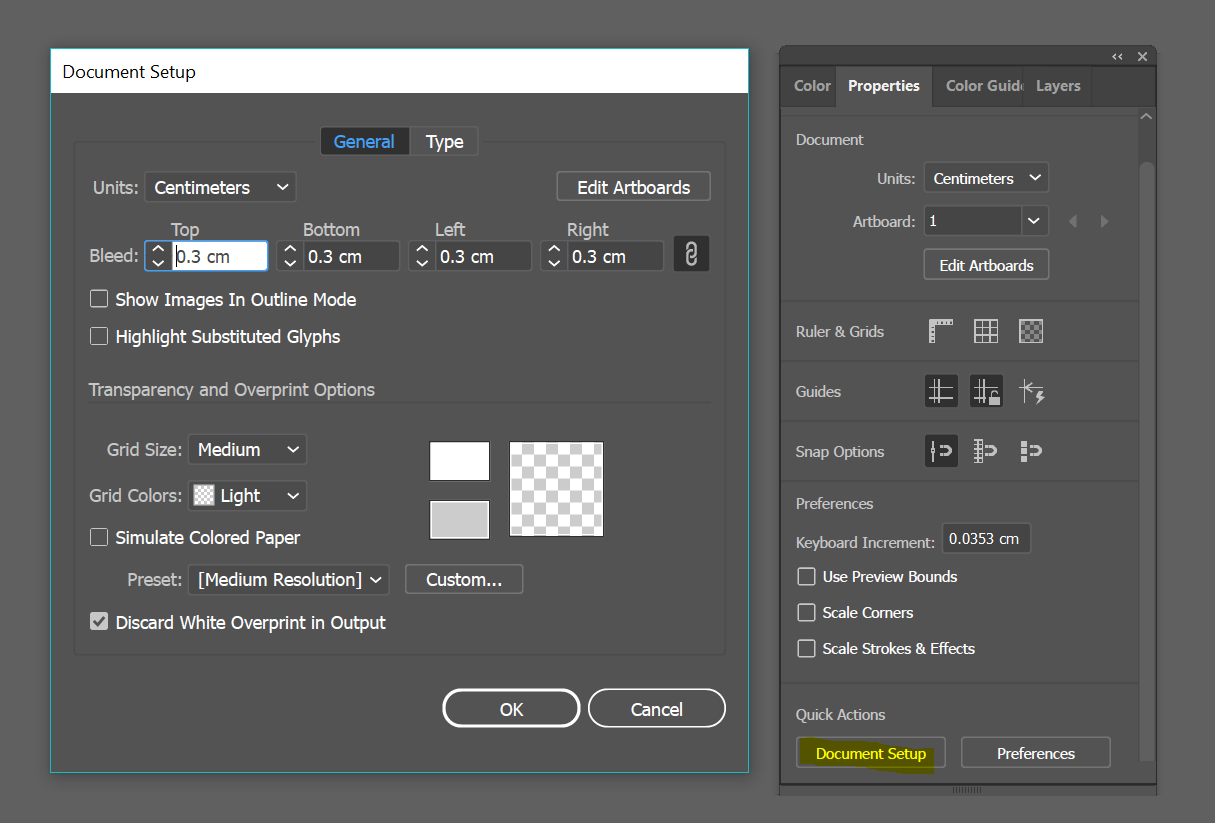
And you will get a red line around your Artwork:
To paste your picture, you can paste it all around and make sure that the lines are above so you can see the Bleed and Margin or where it will get cut off. After the design, you can delete the setting lines off and Save as a pdf.


